On a typical July afternoon in Orange County, the thermometer hits 95 degrees while humidity levels climb past 80 percent. You realize your vents are blowing warm air, and suddenly, your home feels more like a sauna than a sanctuary. When you need urgent hvac repair orlando fl, you don’t have time to wait for a contractor who might not show up. We understand that nothing is more frustrating than watching your monthly power bill spike by 22 percent while your family loses sleep in the stifling heat. It’s even worse when you’re worried about hiring unreliable “solar cowboys” who lack the 25 years of experience required to handle complex Central Florida cooling systems.
You deserve transparent pricing and an expert diagnosis that ensures your system remains reliable through the 2026 summer season. This guide will show you how to identify common air conditioning failures, troubleshoot minor issues yourself, and choose a certified partner who arrives in a fully stocked truck to restore your indoor comfort immediately. We will walk through the exact steps our technicians take to provide the cooling you can count on since 1999.
Key Takeaways
- Understand how high humidity and extreme heat impact your system’s performance and why managing moisture is just as vital as lowering the temperature.
- Identify the most common component failures and learn how our fully stocked trucks provide the efficient hvac repair orlando fl residents have trusted since 1999.
- Use the “50% Rule” framework to accurately calculate your ROI and determine if repairing your old unit or replacing it is the most cost-effective choice.
- Reduce service anxiety by knowing exactly what to expect during a professional call, including the importance of our rapid 48-hour response window.
- Discover why over two decades of local expertise and a commitment to customer satisfaction make RMI the dependable choice for your cooling solutions.
Understanding HVAC Repair in Orlando: Why Your System Struggles
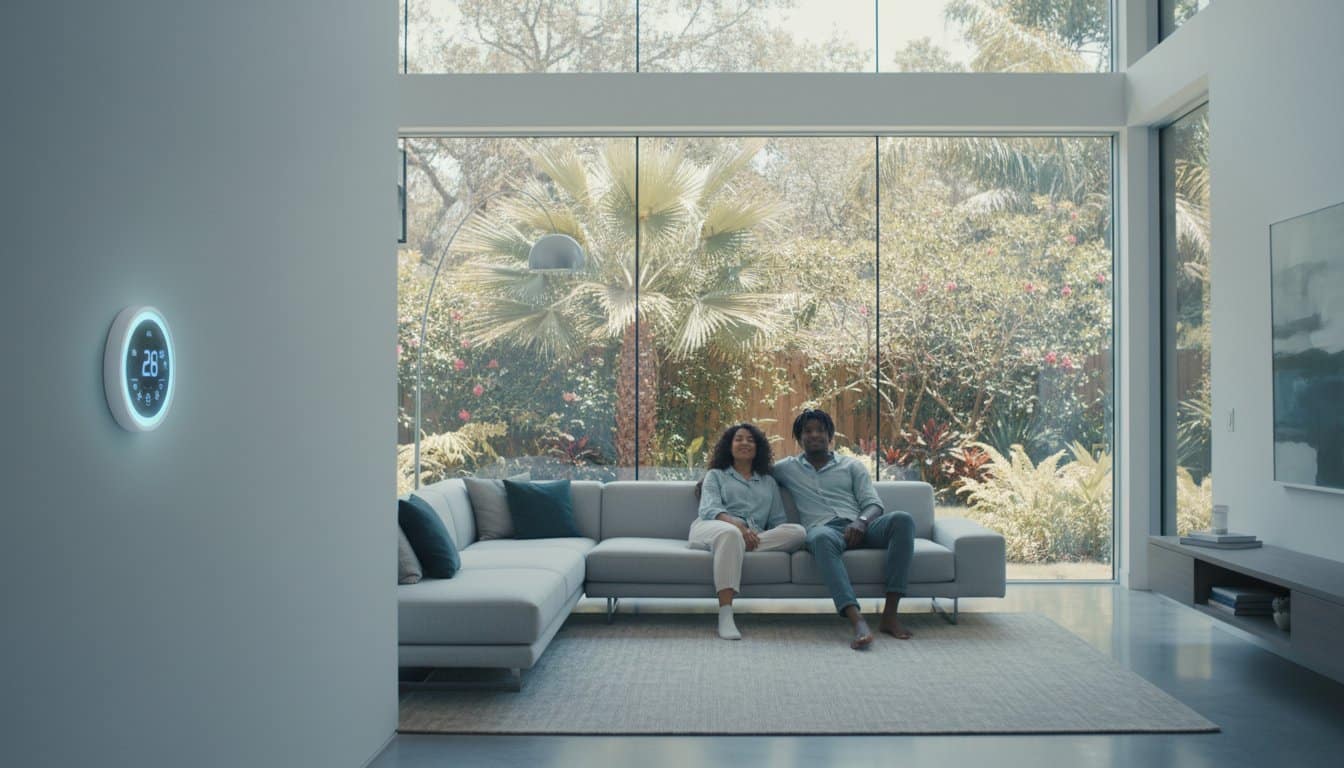
In Central Florida, a functioning air conditioner is a necessity for health and safety. Orlando residents face a unique set of environmental challenges that push mechanical systems to their absolute limits. When you seek hvac repair orlando fl, you are often dealing with a system that has been running 24 hours a day to combat the relentless heat. A foundational Understanding HVAC Systems reveals that these units don’t just cool the air; they act as the primary defense against the region’s 70% average humidity. Without consistent moisture removal, indoor air quality quickly degrades, creating a breeding ground for biological growth.
Since 1999, our team has seen how quickly a minor mechanical glitch can escalate into a household crisis. In the Orlando climate, mold can begin to colonize on surfaces within 48 hours of a total system failure. This makes immediate repair a critical priority rather than a luxury. We believe in providing Cooling You Can Count On, which means ensuring your system maintains a precise balance between temperature control and dehumidification. If your unit fails to pull at least 10 to 20 gallons of water from the air daily, it isn’t performing its job correctly.
The Central Florida Climate Factor
Orlando experiences over 100 days a year where temperatures exceed 90 degrees. This constant heat puts 2x the mechanical stress on compressors compared to systems in northern states. Our afternoon thunderstorms also play a major role in system degradation. Frequent lightning strikes and power surges can fry sensitive electrical components in your outdoor condenser unit. Additionally, Orlando’s high oak and pine pollen counts clog delicate evaporator coils, forcing the motor to work harder and increasing your monthly energy bills by as much as 30%.
Common Signs Your Orlando AC Needs Professional Help
Recognizing the early warning signs of a breakdown can save you from a costly emergency replacement. Our certified experts recommend watching for these specific indicators:
- Short-cycling: If your unit turns on and off more than 3 to 4 times per hour, it is short-cycling. This often points to a frozen coil or a malfunctioning thermostat that requires professional hvac repair orlando fl.
- Warm air or weak airflow: When the air coming from your vents feels lukewarm, you likely have a refrigerant leak or a failing blower motor. These components require specialized tools to diagnose and fix safely.
- Unusual noises: A screeching sound usually indicates a slipped fan belt, while a loud grinding noise often signals a failing compressor. Ignoring these sounds can lead to a total system seizure.
Our service vehicles arrive at your home fully stocked with the most common parts and tools to ensure we can solve these issues during the first visit. We understand that your comfort always comes first, and we don’t believe in making you wait in the Florida heat. By addressing these symptoms early, you protect your investment and ensure your home remains a cool, dry sanctuary regardless of the weather outside. Our commitment to excellence has been the cornerstone of our service for over two decades, delivering reliable results that Orlando homeowners trust.
The Most Frequent HVAC Failures in Central Florida
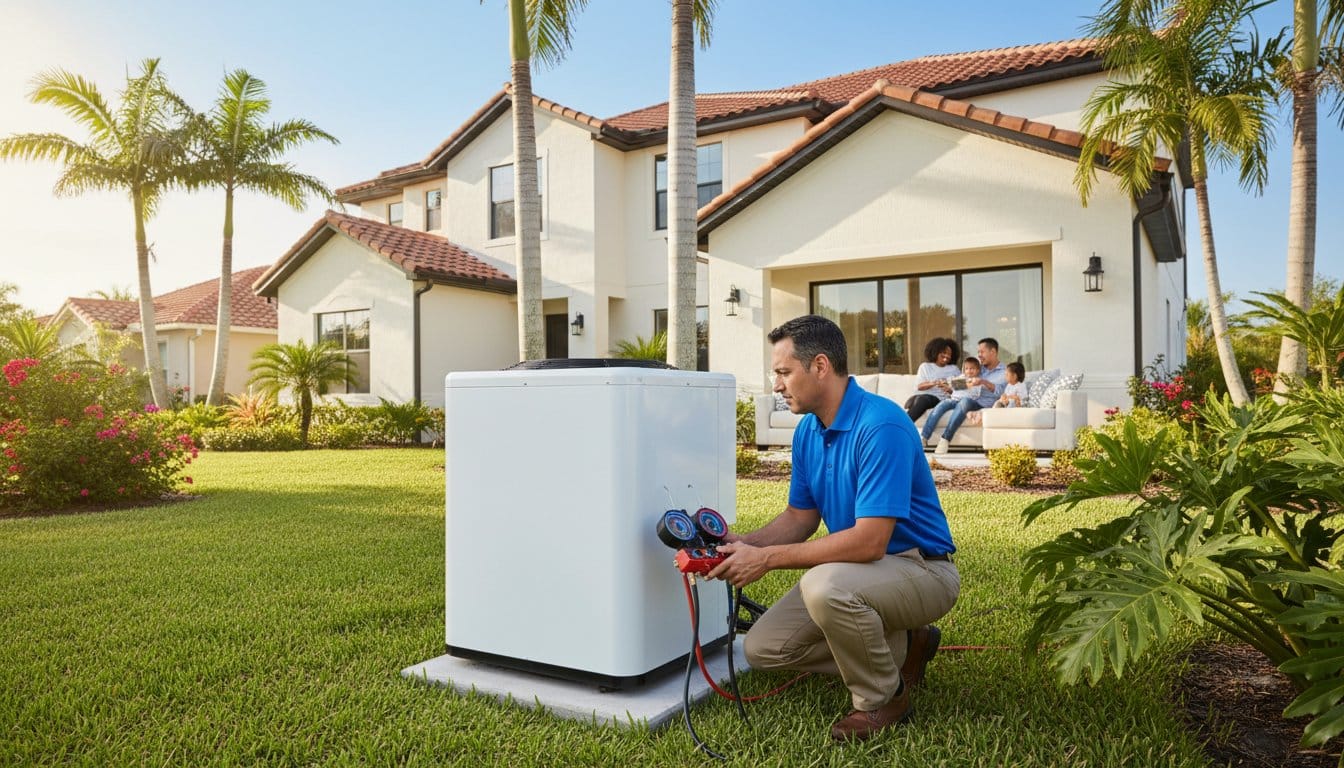
Orlando’s climate puts a unique strain on air conditioning systems. With an average of 233 sunny days per year and summer heat indexes frequently topping 105 degrees, your unit likely runs for over 3,000 hours annually. This constant operation accelerates the wear on internal components, making the need for hvac repair orlando fl a common reality for local homeowners. While following basic HVAC maintenance tips can prevent minor issues, internal mechanical failures require professional intervention to restore safety and efficiency.
Our “Fully Stocked Truck” philosophy is designed specifically for these Central Florida challenges. Since 1999, we’ve recognized that waiting days for a part isn’t an option when the humidity is at 90%. Our service vehicles arrive at your door carrying 95% of the most common replacement parts, including fan motors, contactors, and universal capacitors. This preparedness allows our NATE-certified technicians to solve your problem during the first visit, saving you time and restoring your comfort immediately.
Attempting DIY repairs on modern HVAC systems is dangerous and often results in more costly damage. Most outdoor condensers operate on 240 volts; this is a lethal level of electricity that can cause severe injury without proper training and equipment. Furthermore, internal components like the compressor are sensitive to contaminants. Opening a sealed system without a vacuum pump and recovery machine can lead to total system failure. Trusting an expert ensures that your hvac repair orlando fl is handled with the precision required for long-term reliability.
Refrigerant Leaks and Evaporator Coils
Florida’s high humidity creates a breeding ground for formicary corrosion. This chemical reaction occurs when moisture on the evaporator coil reacts with household cleaners or building materials, creating tiny pinhole leaks in the copper or aluminum. Systems manufactured before the January 1, 2020, phase-out of R-22 refrigerant are particularly expensive to repair because of the scarcity of the gas. Modern R-410A systems handle pressure differently and require exact charging to function. If you notice ice forming on your indoor unit, it’s a sign of a “frozen” coil. You should turn the system off immediately to prevent the liquid refrigerant from flooding and destroying your compressor. For a professional assessment, you can always book a reliable air conditioning service to check your pressures.
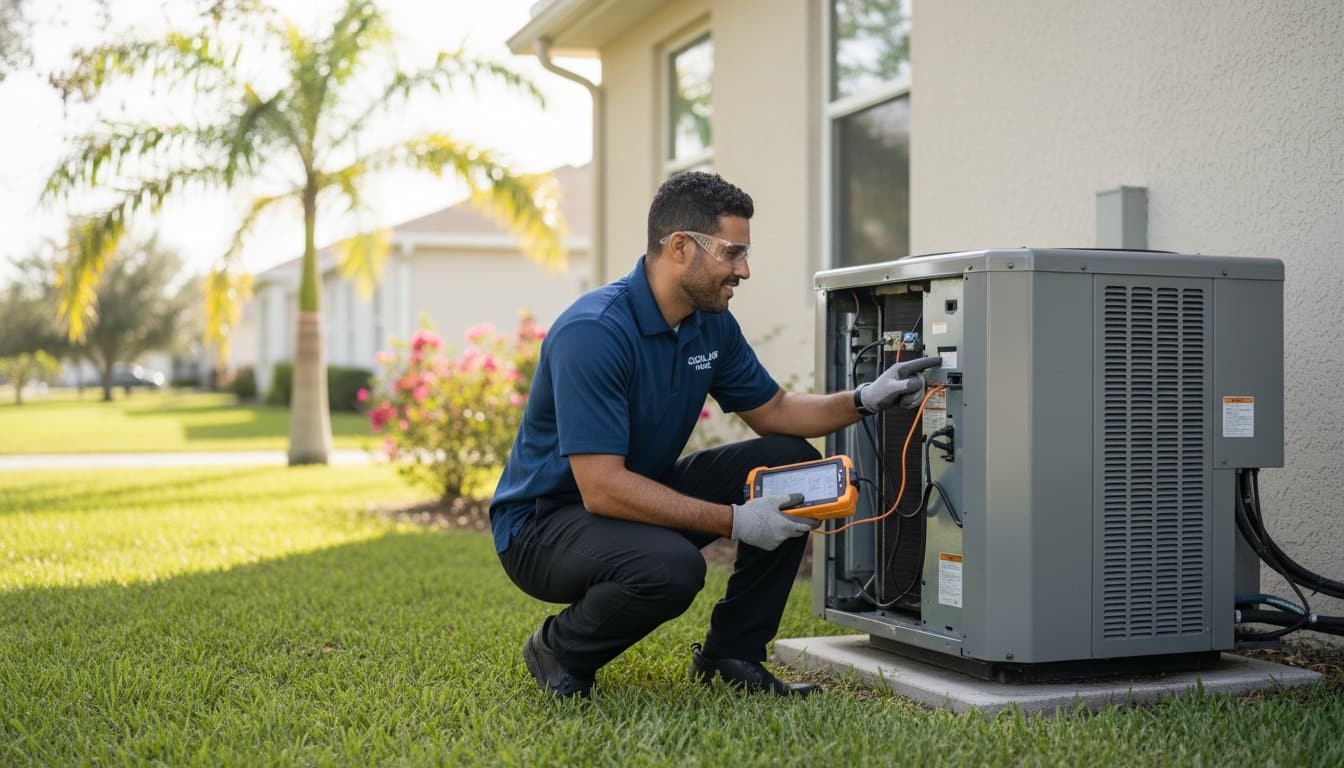
Electrical Component Failure: Capacitors and Contactors
Electrical failures are the leading cause of emergency service calls in Orlando, especially during the afternoon thunderstorm season. Lightning strikes and power surges fry sensitive electronics and pit the silver coating on contactors. The start capacitor is the most frequent point of failure because it bears the brunt of the heat every time the system cycles on. A capacitor is the battery boost that starts your AC motor. When this part fails, you might hear a humming sound from the outdoor unit while the fan remains still. Our technicians use calibrated multimeters to test these components, ensuring they’re within the 5% tolerance range required by manufacturers to prevent motor burnout.
Repair vs. Replace: Calculating Your ROI in 2026
Deciding whether to call for another hvac repair orlando fl or invest in a new system is a high-stakes choice for your wallet. By 2026, the financial landscape of home cooling has changed significantly due to rising labor costs and equipment scarcity. We use a simple framework called the 50% Rule to help our customers decide. If the cost of a single repair exceeds 50% of the current value of your equipment, a replacement is almost always the better long-term investment. For an average unit over eight years old, the market value drops quickly, making even a $1,200 repair a questionable expense. Our team has provided trusted air conditioning services since 1999, and we’ve seen that homeowners who cling to failing systems often end up paying for a new unit anyway through cumulative repair bills and high utility costs.
The True Cost of Keeping an Aging System
An aging air conditioner is often an “energy vampire” hiding in your backyard. A 10-year-old unit typically costs $500 or more per year in extra electricity compared to a modern 16+ SEER2 system. These older units struggle to maintain efficiency as mechanical parts wear down and coils corrode in the Florida salt air. While following the Department of Energy maintenance guidelines is essential for longevity, it cannot overcome the fundamental physics of an outdated compressor. We also see diminishing returns on refrigerant recharges. Since the EPA began the phasedown of R-410A, prices for older refrigerants have climbed by over 300% since 2020. Investing in a new system provides the peace of mind of a 10-year manufacturer warranty, ensuring you aren’t hit with unexpected hvac repair orlando fl costs during a July heatwave.
Modern Efficiency Standards (SEER2) Explained
The regulatory shift to SEER2 standards in 2023 and 2024 has redefined what quality cooling looks like in 2026. These modern units are tested under higher static pressures to better reflect real-world performance in Florida homes. Higher efficiency units do more than just lower your power bill; they provide superior dehumidification. In Orlando, humidity is often a bigger comfort hurdle than the heat itself. High-efficiency systems run longer, lower-speed cycles that pull gallons of moisture from your indoor air every hour. If you want to see how these numbers stack up for your specific home, check out our AC Installation Guide for detailed replacement insights.
We frequently recommend inverter heat pumps for the Orlando climate. Unlike traditional units that are either “on” or “off,” inverter systems modulate their speed with extreme precision. This allows them to handle a chilly January morning and a blistering August afternoon with equal ease, often using 40% less energy than standard models. It’s cooling you can count on, regardless of the season, backed by the expertise of technicians who have served this community for over two decades.
What to Expect During a Professional HVAC Service Call
Cooling you can count on starts with a clear, predictable plan. Since 1999, RMI Heating and Air Conditioning has refined a service process that removes the anxiety and guesswork from your hvac repair orlando fl. We know that a broken air conditioner is more than a minor annoyance; it’s a disruption to your family’s safety and comfort. That’s why we guarantee an initial service window within 48 hours of your call. We don’t believe in making you wait for days in the Florida humidity.
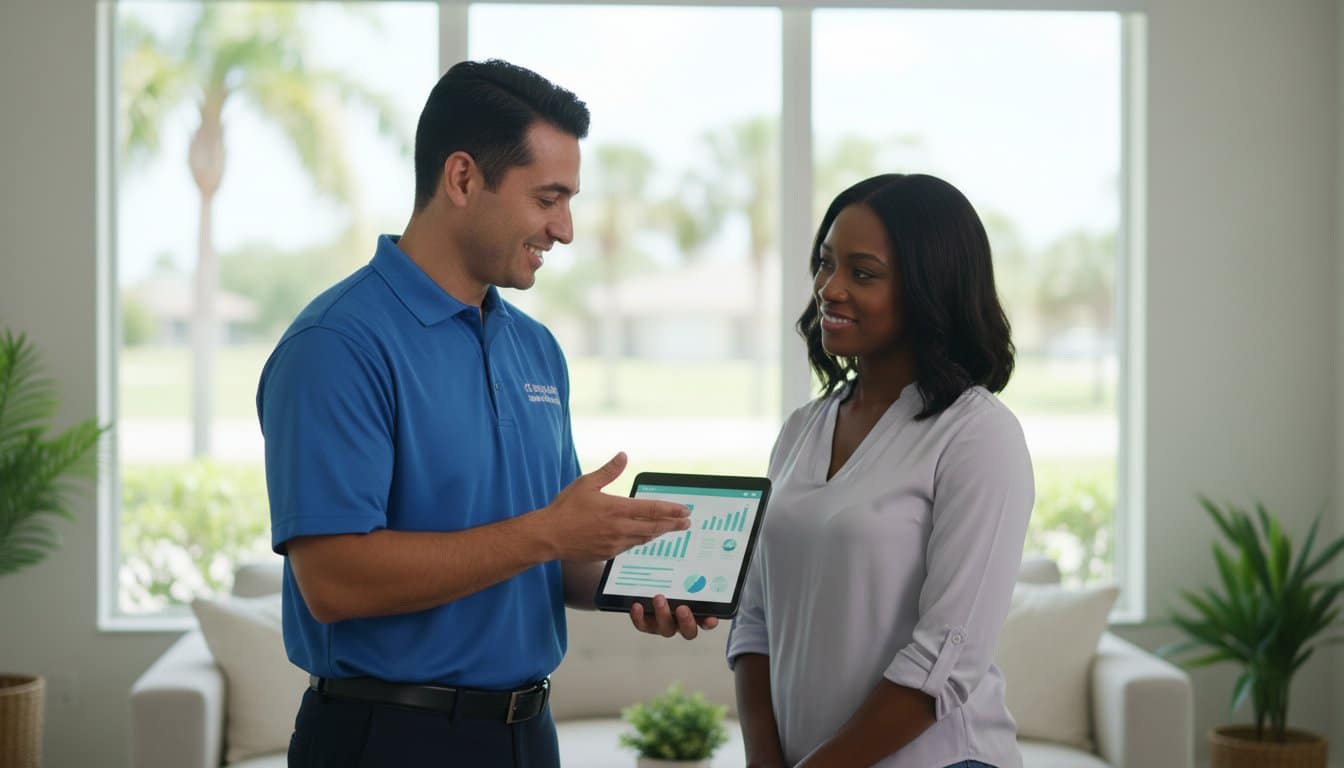
When our technician arrives, they aren’t just bringing a toolbox. They arrive in one of our Fully Stocked Trucks. These mobile warehouses carry over 50 of the most frequently needed replacement parts, from capacitors and contactors to fan motors and thermostats. This level of preparedness allows our team to complete 92% of repairs on the initial visit. Since we opened our doors over two decades ago, we’ve maintained a commitment to transparent pricing. You’ll receive a detailed, flat-rate estimate after the diagnostic is complete but before any repair work begins. You stay in control of the budget at every step.
The 5-Step Diagnostic Process
Our technicians follow a rigorous, methodical protocol to identify the root cause of your system’s failure. We don’t just patch the symptoms; we solve the problem. This process ensures your system runs efficiently long after we leave your home.
- Step 1: We perform a visual inspection of the thermostat and the indoor air handler. We look for frozen coils, clogged filters, and drainage issues that often cause system shutdowns.
- Step 2: Our team checks the electrical draw and capacitor health in the outdoor unit. In Orlando, heat-stressed capacitors are the leading cause of motor failure.
- Step 3: We measure refrigerant pressures and calculate subcooling and superheat levels. This confirms if your system has a leak or is operating with an incorrect charge.
- Step 4: We inspect accessible ductwork for air leaks. Even a small gap in your ducts can waste 20% to 30% of your cooled air into your attic or crawlspace.
- Step 5: We provide a full system health report. This final step ensures all components are communicating correctly before we consider the job finished.
Emergency 24/7 HVAC Support in Orlando
Some situations require immediate action. We define a true emergency as a total system failure during a heat wave, or any breakdown affecting elderly residents or those with specific medical needs. Our dispatch system is active 24 hours a day, 365 days a year. This means you’ll reach a real person even on Thanksgiving or at 2:00 AM on a Sunday. We stand by a “No Hidden Fees” promise for these late-night calls. You won’t find surprise surcharges on your bill just because your AC decided to quit after business hours. We’ve built our reputation on being the most dependable hvac repair orlando fl provider, and that means being there when you need us most.
Don’t let a broken AC ruin your week. Contact us now to schedule your professional diagnostic call and experience the RMI Heating and Air Conditioning difference.
Choosing RMI: Orlando’s Trusted HVAC Partner Since 1999
Selecting an air conditioning contractor in Central Florida is a decision that affects your utility bills, indoor air quality, and daily peace of mind. Since 1999, RMI has operated with a single mission: to provide reliable hvac repair orlando fl homeowners and business owners can depend on through every record-breaking heatwave. We started this journey over 25 years ago. Since then, we have grown from a small local operation into a comprehensive service provider capable of managing complex mechanical systems. Our longevity is not an accident. It is the result of a consistent 48-hour service window and a commitment to getting the job done right the first time. We understand that in the Florida humidity, a broken AC is not just an inconvenience; it is an emergency.
Our team bridges the gap between residential comfort and commercial precision. We apply the same rigorous standards to a 1,500-square-foot bungalow in Delaney Park that we do to a massive commercial warehouse near the airport. This crossover expertise allows us to diagnose problems faster than technicians who only see one type of system. We maintain a fleet of fully stocked trucks, which means we arrive prepared to fix 90 percent of common mechanical failures on the spot. Your comfort always comes first, and we prove that by maintaining a 24/7 emergency line for those moments when the cooling stops in the middle of a July night.
Why 25+ Years of Experience Matters
Stability is a rare commodity in the service industry. Because we have been serving Central Florida since 1999, we have seen every Orlando weather pattern, from the 2004 hurricane season to the extreme humidity of recent summers. We know how local lime rock and salt air affect outdoor condensers. Our technicians undergo continuous training on the latest inverter technologies and Dedicated Outdoor Air Systems (DOAS). We don’t just guess which part is failing; we use calibrated diagnostic tools to verify the issue. This deep level of expertise ensures that when you call for hvac repair orlando fl, you receive a solution that lasts for years, not just a temporary patch. Our reputation is built on decades of referrals from neighbors who know our work stands the test of time.
Take the Next Step Toward a Cooler Home
Before you pick up the phone, we recommend a few quick checks that might save you a service fee. First, verify that your thermostat has fresh batteries and is set to “cool.” Second, check your air filter. A clogged filter accounts for roughly 15 percent of airflow-related service calls. Finally, ensure your circuit breaker hasn’t tripped. If these quick fixes don’t restore your airflow, it is time to call the professionals. We offer precision tune-ups to prevent future breakdowns and urgent repairs for systems that have already failed.
- Free Estimates: We provide transparent pricing on all system replacements and major repairs.
- Emergency Service: Our team is available 24/7 to handle critical cooling failures.
- Certified Technicians: Every member of our staff is background-checked and highly trained.
Do not let a malfunctioning AC ruin your week or drive up your energy costs. Whether you need a routine inspection or an immediate mechanical fix, RMI is ready to help. Cooling you can count on is just a phone call away. Contact us today to schedule your appointment and experience the professional difference that 25 years of local dedication makes for your home or business.
Secure Your Home Comfort with Orlando’s Proven Cooling Experts
Central Florida’s intense humidity doesn’t take a day off. Your air conditioner shouldn’t either. We’ve analyzed how common mechanical failures like clogged drain lines or faulty capacitors can quickly escalate into expensive replacements. By calculating your system’s ROI heading into 2026, you can make smarter decisions for your home’s long-term efficiency. When you require professional hvac repair orlando fl, you deserve a team that shows up prepared to solve the problem immediately. Our NATE certified technicians arrive in fully stocked trucks to ensure 90% of repairs are completed during the very first visit. We’ve been serving this community since 1999, providing the dependable cooling you can count on through every 95-degree day. Whether it’s a routine maintenance check or a midnight breakdown, our 24/7 emergency service ensures you’re never left struggling in the heat. We’re ready to restore your peace of mind and your home’s temperature right now.
Schedule Your Trusted Orlando AC Repair with RMI Today
It’s time to enjoy a cool, comfortable home again.
Frequently Asked Questions
How much does HVAC repair typically cost in Orlando, FL?
HVAC repair in Orlando, FL, typically costs between $150 and $600 for most common residential issues. Diagnostic fees usually range from $75 to $100, which we often apply toward your final repair bill if you choose us for the fix. While a simple capacitor replacement might cost $150, more complex blower motor repairs can reach $500 or more. We provide a clear, written estimate before any work begins so you aren’t surprised.
How long does an average AC unit last in the Orlando climate?
An average AC unit in Central Florida lasts between 10 and 12 years. The intense humidity and high temperatures in Orlando mean systems run about 2,500 hours annually, which is double the national average. Regular maintenance can extend this lifespan to 15 years. Without proper care, many units fail closer to the 8-year mark due to internal corrosion and component strain. Our certified experts help maximize your system’s longevity through detailed inspections.
Do you offer 24/7 emergency AC repair in Kissimmee and Sanford?
Yes, we provide 24/7 emergency AC repair services for homeowners in both Kissimmee and Sanford. Our technicians are available 365 days a year to handle urgent cooling failures that happen outside of standard business hours. We understand that a broken AC is a safety concern when Florida temperatures exceed 90 degrees. You can call us at any hour, and we’ll dispatch a professional to restore your comfort immediately.
What are the signs that my AC refrigerant is leaking?
The most common signs of a refrigerant leak include a hissing sound near the indoor unit and ice buildup on the copper coils. You might also notice your home takes 30% longer to reach the set temperature than it did previously. If your electric bill jumps by $40 or more without a change in usage, a leak is likely. Our experts use electronic leak detectors to find the exact source of the problem quickly.
Should I repair or replace my 10-year-old air conditioner?
You should consider replacing your 10-year-old unit if the repair cost exceeds 50% of the system’s total value. Since 1999, we’ve seen that older units often have a SEER rating of 13 or lower. Upgrading to a modern 16 or 18 SEER system can reduce your monthly energy consumption by up to 40%. If your current hvac repair orlando fl needs are becoming frequent, replacement is usually the more reliable investment for your home.
Is a maintenance plan worth it for a new HVAC system?
A maintenance plan is highly valuable because it reduces the risk of major breakdowns by 95% over the system’s life. Our scheduled tune-ups ensure your manufacturer’s warranty remains valid, which is required by major brands like Carrier and Trane. Most customers see a 15% reduction in monthly cooling costs after a professional cleaning. It’s a proactive way to ensure you have cooling you can count on during the hottest summer months.
What is the difference between a standard AC and a heat pump in Florida?
A heat pump provides both cooling and heating by reversing the refrigerant flow, while a standard AC relies on electric heat strips for warmth. In Florida, heat pumps are 300% more efficient than electric strips during our brief winter cold snaps. This efficiency can save you $50 to $100 on your heating bills in January and February. Both systems provide excellent dehumidification, which is essential for Orlando’s 70% average humidity levels.
How quickly can RMI get a technician to my home for a repair?
We guarantee service within 48 hours for standard requests, but we often arrive much sooner for urgent calls. Our team maintains a fleet of fully stocked trucks to ensure we can complete most hvac repair orlando fl tasks in a single visit. We prioritize emergency situations where indoor temperatures pose a health risk. Since your comfort always comes first, we track our technicians via GPS to send the closest expert to your door.